Dry fitting rocker shafts

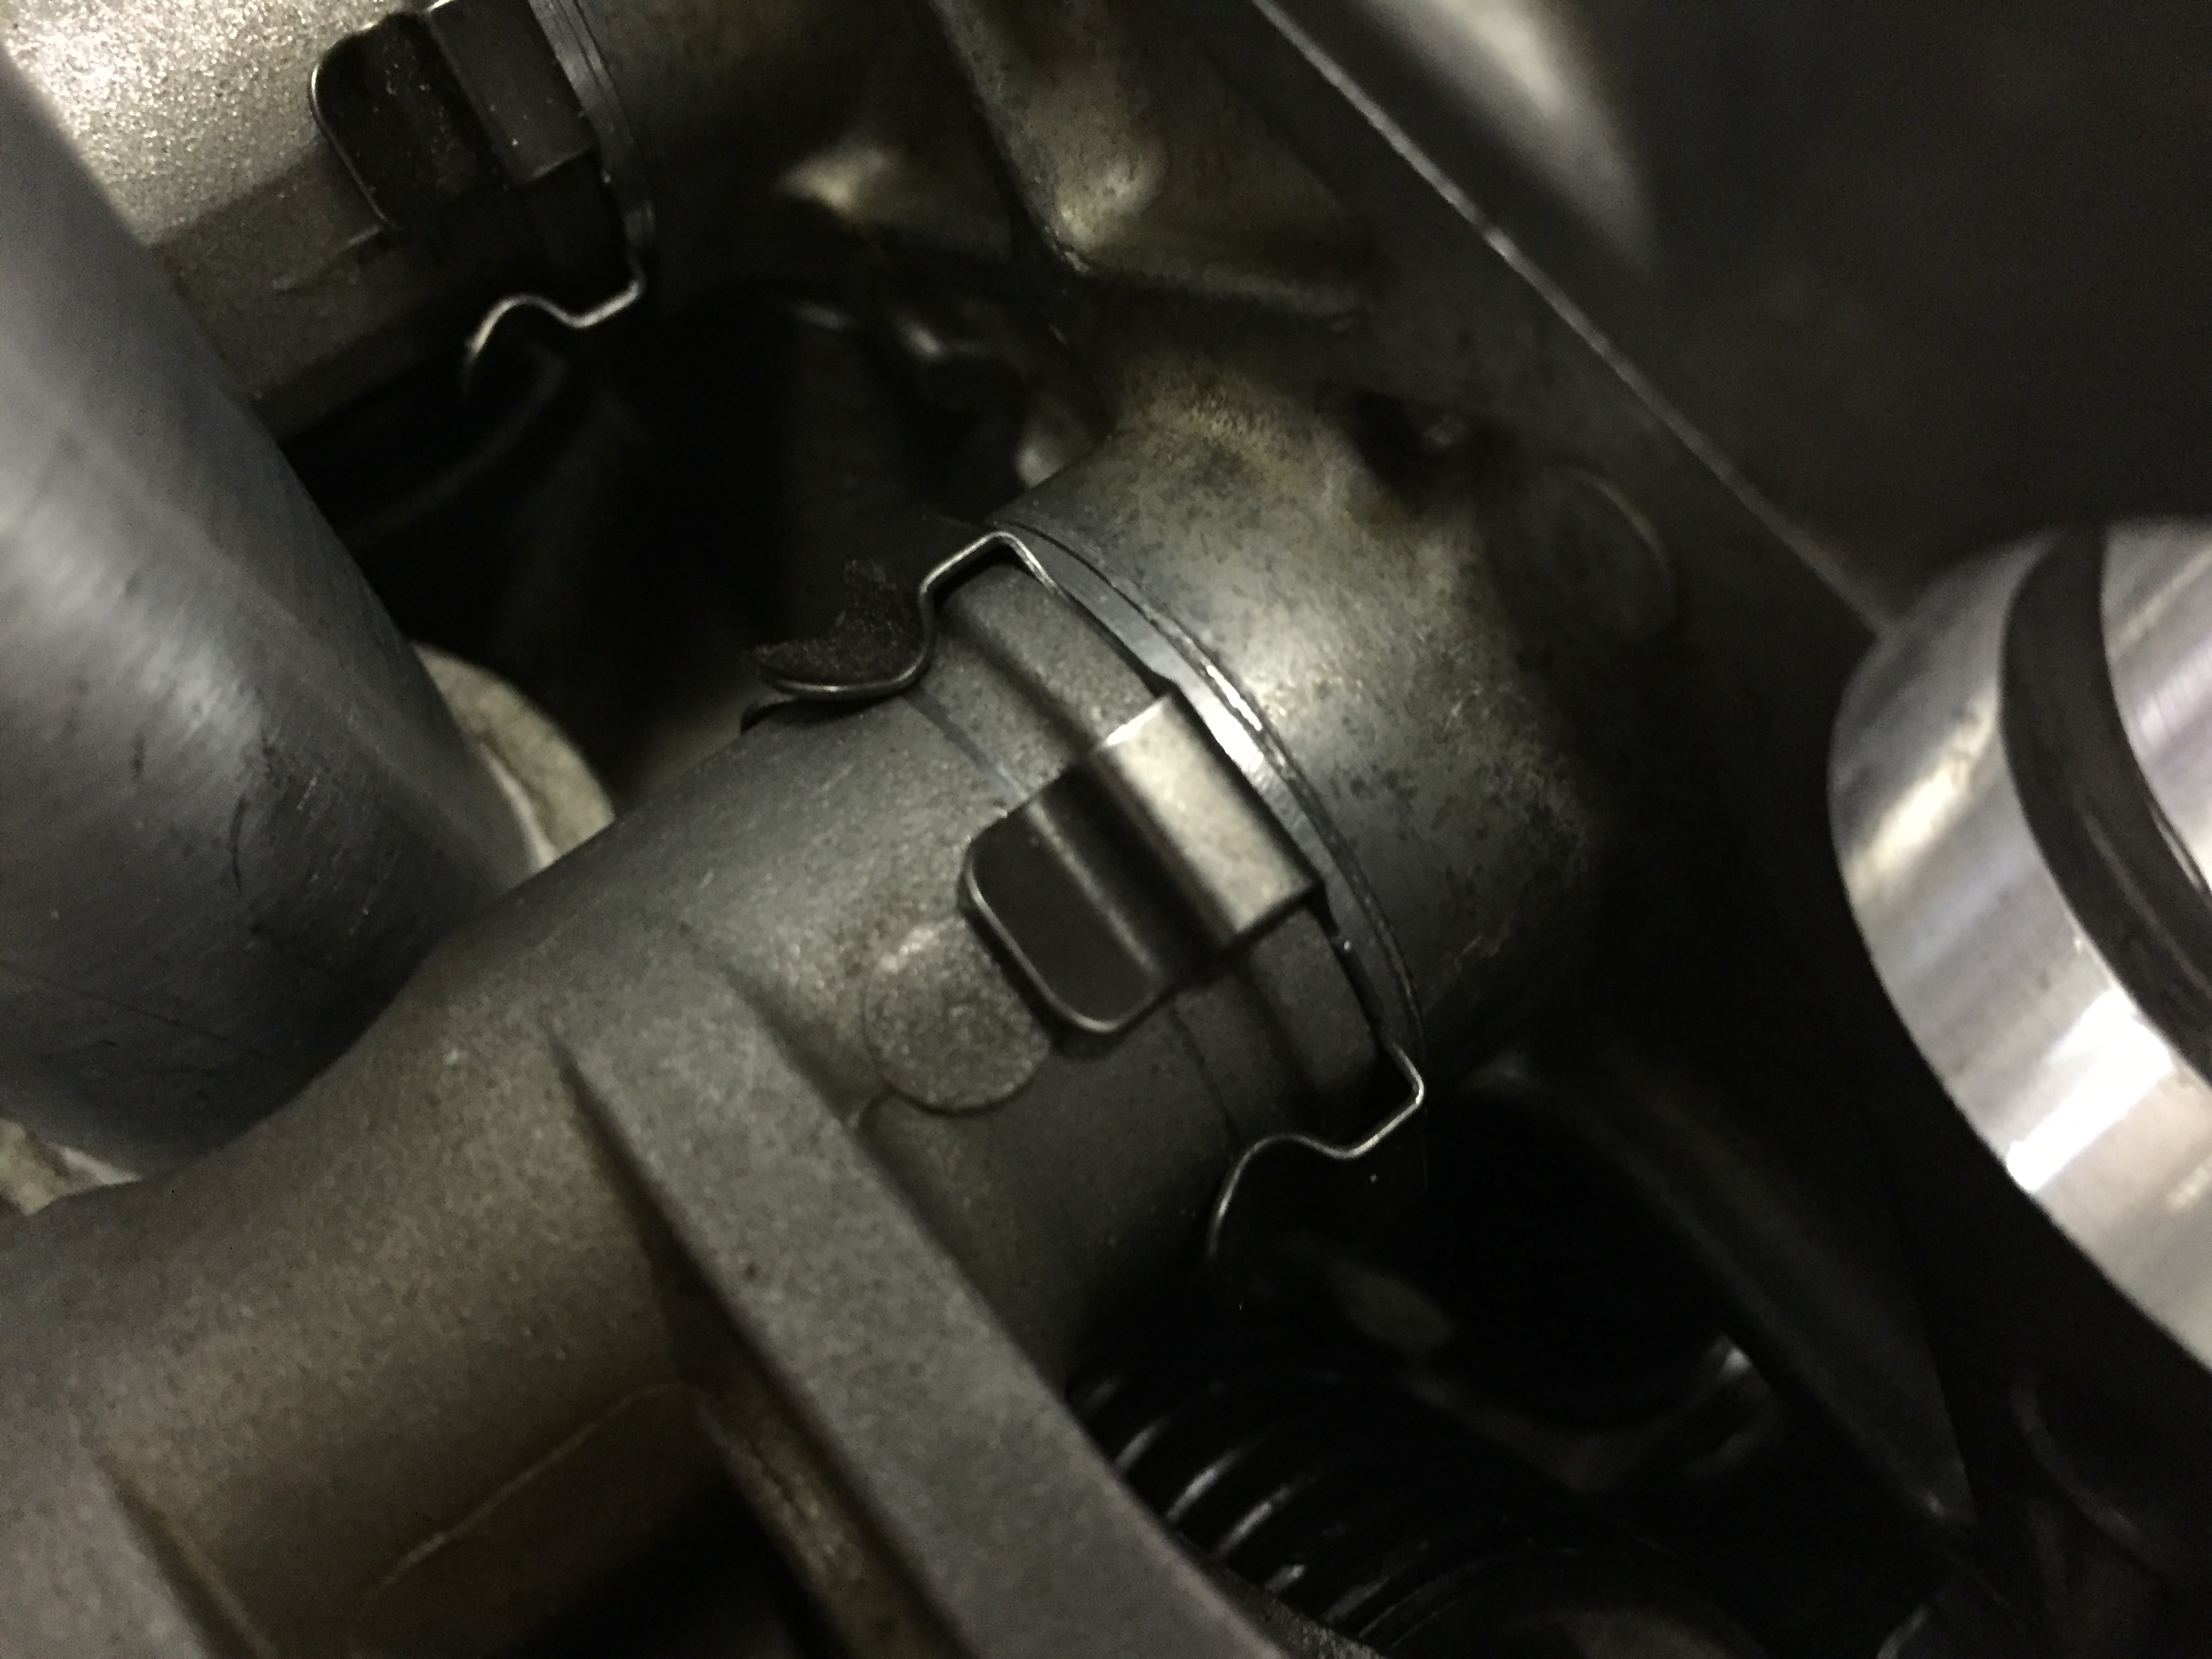
Getting a little tight in there!IMG_0821

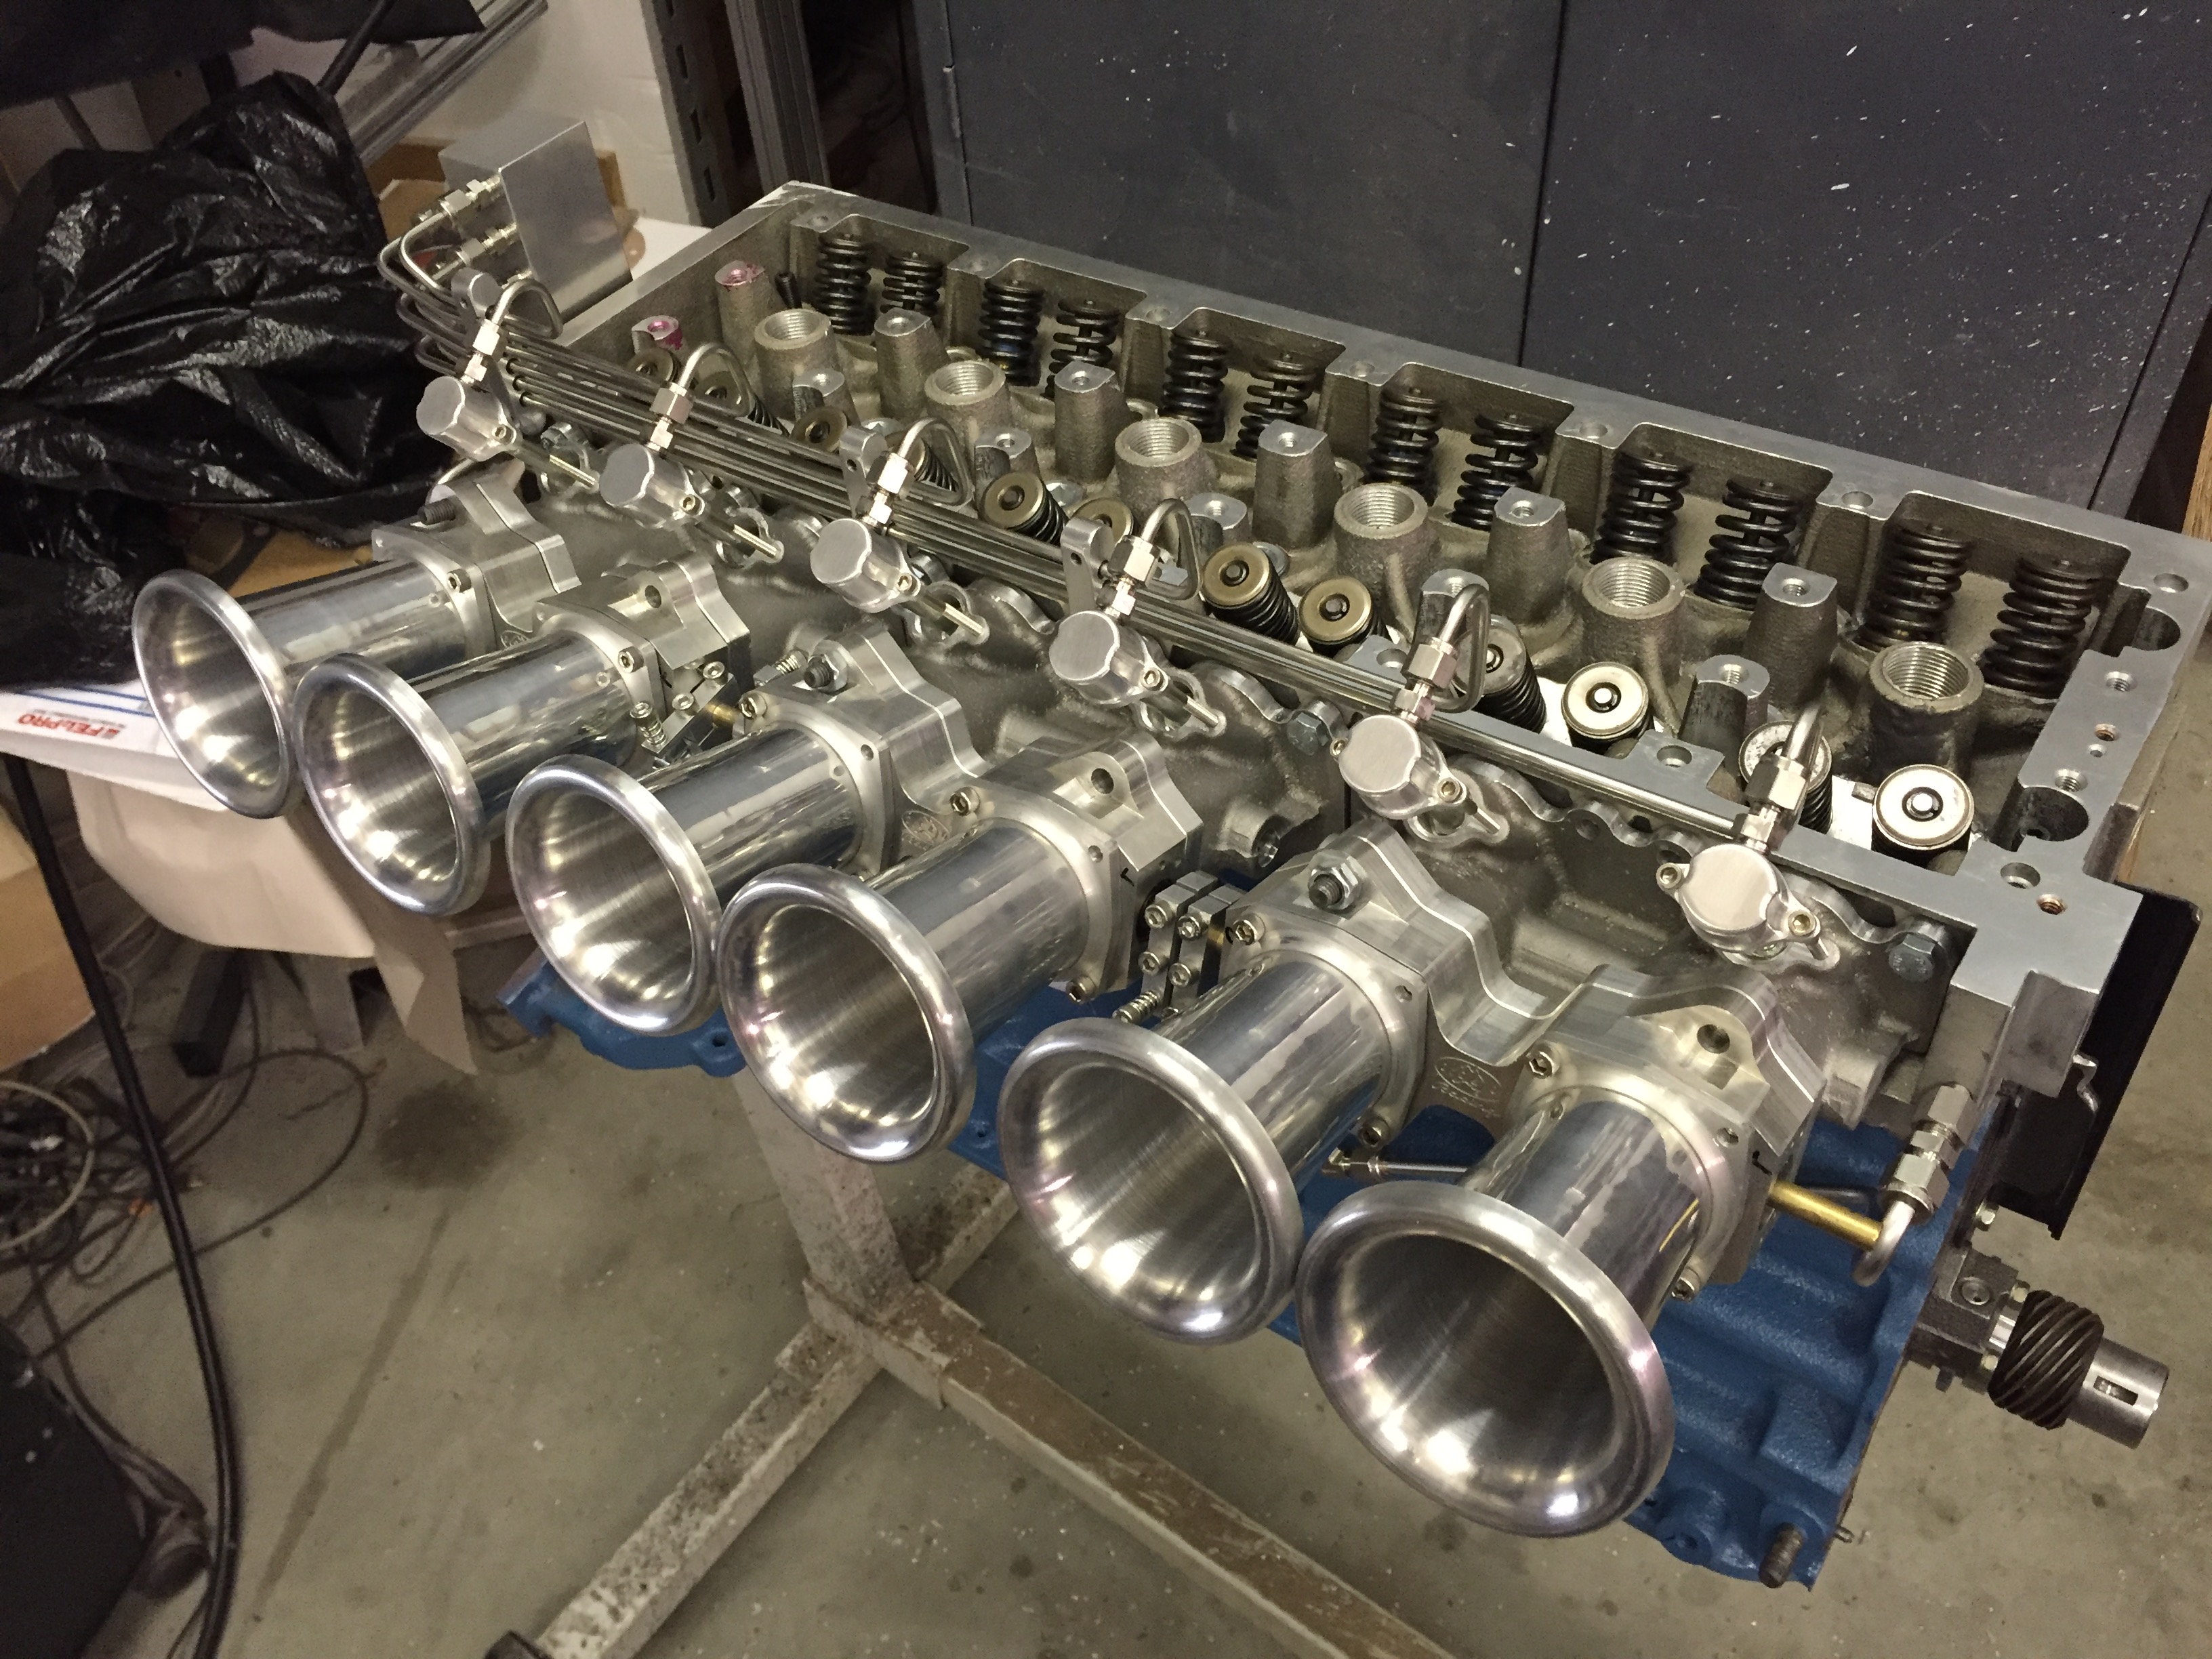
Got the plug tubes done. Decided to dry fit the rocker assembly. The nice thing about the K20 was the cylinder spacing was shorter than the L6. This meant things were easier to fit. In order to take up the space between the rockers and towers I decided to machine some washers out of 6061 aluminum in 3 thicknesses and I also purchased some .002″ shim washers.

IMG_0822

Was bit tedious but really went pretty quickly. Here is a shot in application

IMG_0820

Honda has around .005″ clearance so I kept it right around there.

Starting to run out of things to make until the cams get here.


Machined an oil cap

I couldn’t find anything that I liked so I decided to machine my own. My build style is 70’s works look. I felt that an aluminum cap with knurling would fit the bill.

Here is a shot right after I finished the machine work.

IMG_0816


Had a little too much bling for my taste so I threw it in the vibratory finisher for a few minutes.


IMG_0818Now it’s more to my liking. And since this will be my daily driver probably closer to how it will look in a month or so.  Gritty:)

Valve cover done.


IMG_0809

As I said earlier I’m having it powder coated but I wanted a couple of shots of it raw aluminum. I think it looks great but I want to see what it looks like coated. For me to leave it raw would require a bit of work and then back to the foundry for shot peening again.  Not in the cards. The flange is o-ringed. A little more work but since I’m sure to have the cover off and on a bunch it made the most sense.

IMG_0812

Everything fits really well. Intake casting is a little scruffy but that’s how it goes with prototypes.

IMG_0810

I should have been a plumber:)

IMG_0811


Should be ready to do oil pressure tests at the end of the week. I have a few more small items to work out but then I’m dead in the water without cams and a header.


Top side of valve cover finished

sss

IMG_0800

Getting the correct thread pitch figured out for the oil cap was tricky but it fits great. I also ran a mill across the firing order to try and correct for the short run. I’ll sand it up a bit to try and make it blend.

IMG_0801

I’m setting up the plug wire boots for a Honda K24. This is one of the plug ends from Magnecore. Not crazy about the look but man do they seal well.

IMG_0802

Valve cover casting arrived!

IMG_0794

Very happy with the first pour. I had what’s called a “short run” where the metal didn’t flow all the way. It’s right at the firing order.  The 1 and 5 are barely there. The metal made it it just didn’t fill. There was a hole below it that they welded in for me.


IMG_0795


I’ll sand the other numbers down to that level and see if I can make it work. Otherwise off they come.  I’ll modify the pattern so that future castings won’t have this issue.

The lettering is nice and crisp.

IMG_0796


I’m going with Prismatic lite charcoal wrinkle with the lettering and ribs raw brushed aluminum.

Head is on and torqued…….

For the second time 🙂

The head suds I’m using are ARP from a M50 BMW and they specify 85 lbs. 85 was too much for my tired old block and one of the studs sheared the threads off. I had to order a Timesert kit in to repair it.

There was quite a bit of debate about torquing on HybridZ and I settled into 65 lbs in three steps.

IMG_0789


This abomination is the water outlet. It’s what I had to do in order to not have to make a separate timing cover pattern for this build. It’s setup for the stock nissan outlet and when it’s on it won’t look too bad. The new design is completely different. I run EDIS so the lack of distributer clearance is not an issue. There will be room on V2 for a distributor.


IMG_0791

Upper timing gear went right on and my custom chain stop popped right out.  Ignore the grey silicone if you don’t mind:)  The outlet is o-ringed against the head and is bolted directly to the head so I’m not worried about leaking. Obviously I’ll have to rework the upper timing cover patten to clear the tensioner.

IMG_0790

Oil return line

Behold my hardline prowess:)

IMG_0783

3/4″ stainless .065 wall. Used my Hossfeld bender with a 1 7/8″ radius tube die. All those years of building complex pipe rail finally paid off:)


Clears the dip stick nicely.

IMG_0781

Another angle because…Why not.

IMG_0784

Unfortunately I have to cut it as I created a line trap in that I can’t remove the line without removing the pan or the head. I figured that was going to be the case but I kept it one piece as it makes for a better overall fit. I’m going to cut it up under the manifold on the horizontal section and clamp a piece of high temp hose between them.


No biggie.


Oil supply lines

Got the oil lines run. Love the rear one hate the front one but at this point I need to keep focus on the budget and to do the front the way I want it is money that can go elsewhere.  Plus when it’s in the car it will be hard to see anyway.

IMG_0768


This oil entry will be on the back side of the head and will be a part of the casting. I had to use a bulkhead fitting on this build and this was the best place for it.


IMG_0770


This will still be the front entry point in the new design but there will be more meat in the casting so I won’t have to use an adapter. And yes I still haven’t fixed the collision mark on that boss:)


IMG_0769


Beauty shots for inspiration:)

IMG_0774 IMG_0773

Fuel lines fabricated

So I always liked the look of mechanical injection but luved the practicality of modern engine management systems like Meggasquirt. Tuning your car with a laptop seems so civilized:)

This is basically the same fuel delivery system I have on my current EFI manifold. It works great. The only issue is if you park the car for 10 min. when you restart it you get a bit of burble at idle from the hot fuel. Now that the intake isn’t sitting over the hot header this my go away.

IMG_0763

This is why I redid the fuel block. Isn’t that better?

IMG_0764


The brass fitting is for the oil return. That fitting is just a placeholder for now so don’t judge:)  The stainless bulkhead fitting is the rear oil supply line. All the fuel and oil fittings are Swagelok style double ferrule fittings.

IMG_0765